ReactJS Form Validation Example
In this post, we will take a look at a ReactJS Form Validation Example. Specifically, we will see how we can process forms or rather how we can validate forms in a ReactJS application. Processing Form data is a critical part of most applications regardless of technology. Here we take a look at how we can implement the same in a ReactJS Application. React has grown in popularity and has been widely adapted by the developer community. It should come as no surprise that there are a lot of tools and helper libraries that provide features to specifically process forms in a React application. But we would roll on our own here in this example. And build a simple form and explore Form Validation. So without further ado let us get started.
Firstly I will list the set of tools and tech used to build the example application in this article.
1. Tools and Frameworks
create-react-app is a useful package from the folks who created React to generate the skeletal of a full blown React Application. We use it here to create our starting point for this exercise. It pull down the latest version of ReactJS for us. Visual Studio Code is my favorite IDE for JavaScript development. Although you are free to follow along in an editor of your choice.
2. Application Structure
We run the below command to generate our initial application structure:
>npx create-react-app my-app
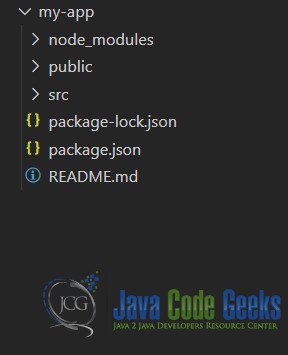
Once the above command finishes we should have our project generated and its structure should look like below:

So let us now move ahead and create a component that renders a form. Following which we will write validation logic for the same.
3. Form Component
Let us create a component that renders a simple form prompting the user to provide First, Last names, Age and Gender. The code for this component so far should look like below:Form.js
import React, { useState } from 'react';

function Form(props) {

    const [formData, setFormData] = useState({});
    const handleChange = ({ target }) => {
        setFormData({ ...formData, [target.name]: target.value });
    }

    return (
        <div style={{
    display: 'flex',
    flexDirection: 'row'
}} >
            <form style={{
    display: 'flex',
    flexDirection: 'column' }}>
                <label>First Name</label>
                <input value={formData.firstName || ''}
onChange={handleChange} type="text" name="firstName" />
                <label>Last Name</label>
                <input value={formData.lastName || ''}
onChange={handleChange} type="text" name="lastName" />
                <label>Date of Birth</label>
                <input value={formData.DOB || ''}
onChange={handleChange} type="datetime-local" name="DOB" />
                <label>Gender</label>
                <div>
                    <input value="Male"
checked={formData.gender === "Male"}
onChange={handleChange} type="radio" name="gender" />Male
                </div>
                <div>
                    <input value="Female"
checked={formData.gender === "Female"}
onChange={handleChange} type="radio" name="gender" />Female
                    </div>
                <div>
                    <input value="None"
checked={formData.gender === "None"}
onChange={handleChange} type="radio" name="gender" />Prefer not to say
                    </div>
                <button type="button">Save</button>
            </form>

        </div>);
}

export default Form;
Now our form is ready. Continuing on from this and building further we add a method called validateForm. To keep things simple we just check whether each field has a value and is not empty. If the validation fails we add a message to a state variable array called validationMessages. We display the contents of this state variable next to our form.
The updated code with the above implemented looks like below:Form.js
import React, { useState } from 'react';

function Form(props) {
    const [validationMessages, setValidationMessages] = useState([]);
    const [formData, setFormData] = useState({});
    const handleChange = ({ target }) => {
        setFormData({ ...formData, [target.name]: target.value });
    }
    const handleClick = (evt) => {
        validateForm();
        if (validationMessages.length > 0) {
            evt.preventDefault();
        }
    }
    const validateForm = () => {
        const { firstName, lastName, DOB, gender } = formData;
        setValidationMessages([]);
        let messages = [];
        if (!firstName) {
            messages.push("First Name is required");
        }
        if (!lastName) {
            messages.push("Last Name is required");
        }
        if (!gender) {
            messages.push("Please select a Gender");
        }
        if (!DOB) {
            messages.push("Date of Birth is required");
        }
        setValidationMessages(messages);
    }
    return (
        <div style={{ display: 'flex', flexDirection: 'row' }} >
            <form style={{ display: 'flex', flexDirection: 'column' }}>
                <label>First Name</label>
                <input value={formData.firstName || ''} onChange={handleChange} type="text" name="firstName" />
                <label>Last Name</label>
                <input value={formData.lastName || ''} onChange={handleChange} type="text" name="lastName" />
                <label>Date of Birth</label>
                <input value={formData.DOB || ''} onChange={handleChange} type="datetime-local" name="DOB" />
                <label>Gender</label>
                <div>
                    <input value="Male" checked={formData.gender === "Male"}
                        onChange={handleChange} type="radio" name="gender" />Male
                </div>
                <div>
                    <input value="Female" checked={formData.gender === "Female"}
                        onChange={handleChange} type="radio" name="gender" />Female
                    </div>
                <div>
                    <input value="None" checked={formData.gender === "None"}
                        onChange={handleChange} type="radio" name="gender" />Prefer not to say
                    </div>
                <button type="button" onClick={handleClick}>Save</button>
            </form>
            <div>{validationMessages.length > 0 && <span>Validation Summary</span>}
                <ul>
                    {validationMessages.map(vm => <li key={vm}>{vm}</li>)}
                </ul>
            </div>
        </div>);
}

export default Form;
In the next section we will run this code and see it in action.
4. Validation in Action
We run the code using the below command:
/my-app>npm start
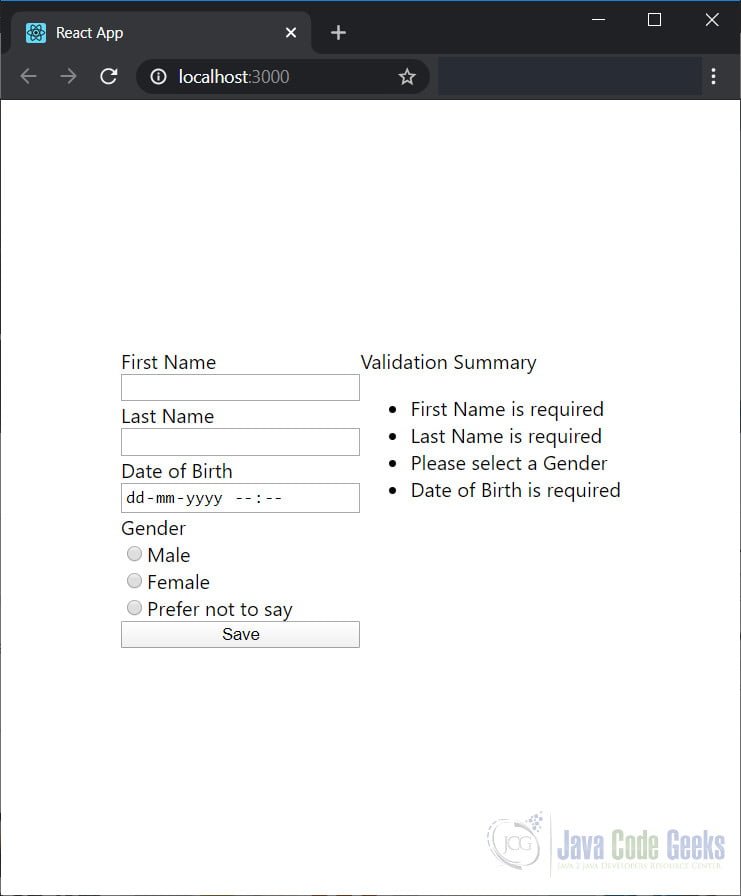
This will launch our application in the default browser. And the results should look like below:

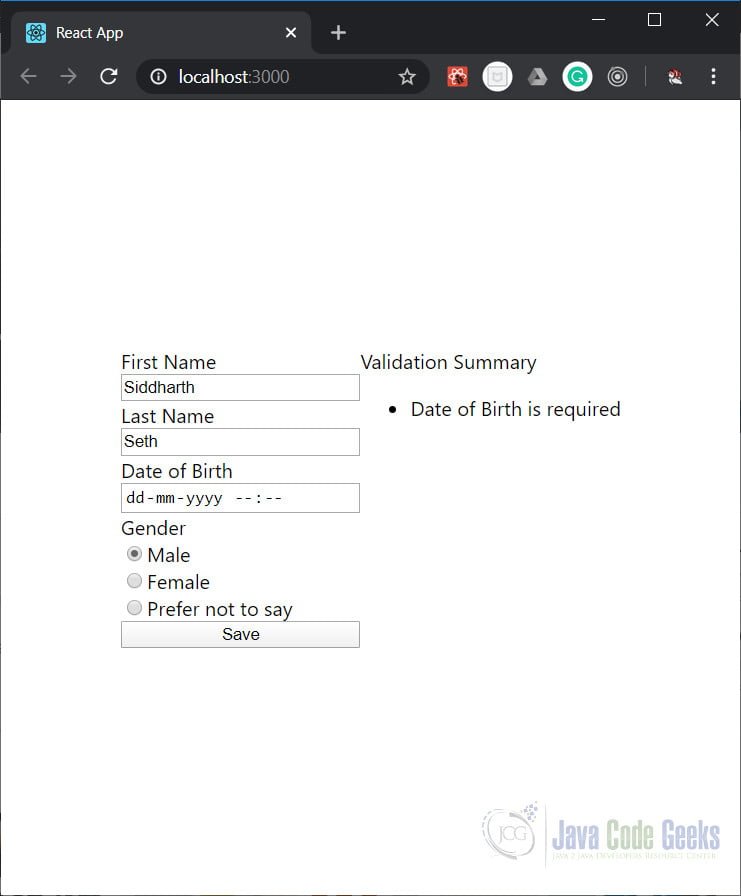
Once we fill out fields and hit save again the validation messages are updated as well.

This wraps up our look at Form Validation in a ReactJS application. The source code for this example is in the section below. To run it you need to execute the command below:
/my-app>npm start
5. Download the Source Code
You can download the full source code of this example here: ReactJS Form Validation Example


after clicking on button it doesn’t go forward for submission